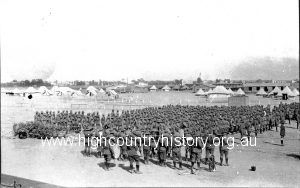
World War 1 (WW1) – Further progress with tank. 8th Light Horse. Sam McColl, Mansfield in the lead (killed) – light shirt on Cramock (killed) in centre.
World War 1 (WW1) – Further progress with tank. 8th Light Horse. Sam McColl, Mansfield in the lead (killed) – light shirt on Cramock (killed) in centre.
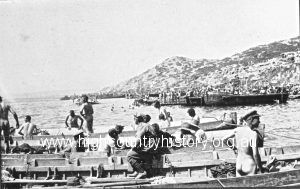
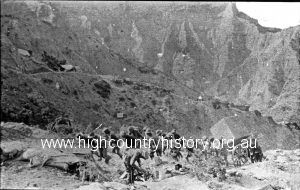
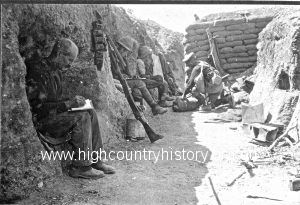
World War 1 (WW1) – In Signaller’s James Campbell’s bedroom in the main communication trench, by the telephone box. 8th Light Horse, B Squadron, ANZAC Cove.
World War 1 (WW1) – In Signaller’s James Campbell’s bedroom in the main communication trench, by the telephone box. 8th Light Horse, B Squadron, ANZAC Cove.